Aviary Cage Design
After trying many different designs we now make our cages all basically the same. This makes things go a lot faster when constructing the cages and I like everything to be consistent.
The wire we normally use is four foot wide and most of our cages are either 4' x 4' x 6', 4' x 4' x 8'. For the smaller birds we use three foot wire and the cages are 3' x 3' x 4'. This allows for fewer cuts and saves time and wire. Whenever possible I plan cages and wire widths to allow for only two panels being cut. Panel one is two sides and one end, and panel two is the top, bottom and one end. They are then bent and joined together. The examples I will use on this page are for a 4' x 4' x 8' cage.
All of our cages now have feeder stations attached to reduce the risk of escape, keep the dishes from being tossed around and reduce the possibility of bites from aggressive birds. The feeder stations are positioned under the nest boxes to reduce the amount of poop in the food and water dishes. Our access to the dishes for cleaning and refilling is all done from outside the cages.
Nest boxes are all housed inside the cage. To allow easy removal for cleaning and replacing boxes, each cage has a wire nest box holder that the nest box slips into. An inspection door is placed on the outside of the cage to allow easy access. By doing this we reduce the risk of any bird eating their way through the nest box and out of the cage.
After trying numerous methods of attaching and replacing perches, we finally stumbled across the idea of having perch holders. For perches, we usually use untreated 2" x 4" wood or 1" x 2" wood for the smaller birds. In no time, they round these perches to different sizes to accommodate their size foot. Our Macaws will chew up a 2" x 4" in no time during breeding season, so ease of replacement was important to us. An access door is attached to each cage to allow us to capture an injured or ill bird.
Planning the Cut
- Step One - Measure out the two sides and one end of the cage you want to build. (8' + 4' + 8' = 20') Make marks at the places to later bend the wire and mark the wire edge to cut along. (8' from the end, 4' from that mark and 8' from that mark is where you will actually cut) Cut wire along outside edge of last mark. Don't forget the rule of "measure twice, cut once".
- Step Two - The top, bottom and one end of the cage will measure the same as the two sides and one end, so repeat step one for the second panel.
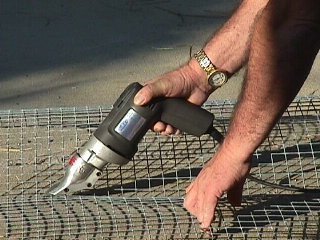
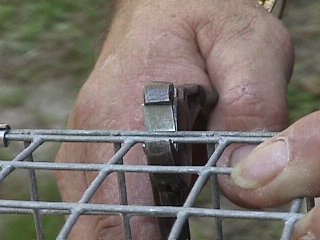
- Step Three - J-Clip the two panels together leaving one side open to allow the nest box holder, feeder station and perch holders to be added.
- Step Four - The smallest person now gets to crawl inside the cage and attach the nest box holder, feeder station and perch holder. Meanwhile another person can be working on the outside cuts and attaching the doors to the feeder stations, nest box holder and access door. Test fit the nest box and do not forget to cut an entry hole in the nest box holder to allow the birds inside the box.
- Step Five - Once all of that is complete, it is time to close up the side panel and insert the perches. We use washers and screws from the outside of the cage to keep perches from falling.
- Step Six - The next step is to attach spring latches to the doors and place the cage in the appropriate location.
- Step Seven - The final step is to insert the nest box, add the feed and water dishes and then introduce the birds to their new home. With most pairs after we place the birds in the cage we secure the access door with J-Clips to prevent escape.