Aviary Nest Box Holder Construction
I got really tired of banging my head on the edges of those nest boxes and we also had a conure eat it's way out of the nest box, so now all of our nest boxes/nest cans are placed inside the cage. We use a variety of nest boxes here so this is the part of cage building that takes us more time to construct. First you must decided on a standard size (and supplier if you have someone else build them) for each species that you breed.
We use several different sizes and styles of nest boxes.
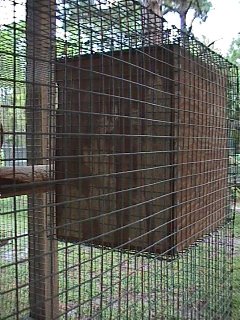
- Step One - Add the width and depth of the nest box and add one inch. (18" + 18" + 2" = 38") This is the width of wire you will need for the first panel. Now measure the height of the nest box and add one inch. (24" + 1" = 25") This is the height of the wire you will need for the first panel. (I need a panel that is 38" x 25") Fold the wide portion of the panel at width + one inch mark (18" + 1" = 19") The panel is now L shaped.
- Step Two - Measure the width of the nest box and add one inch. (18" + 1" = 19") This is the width of the second panel you need. Now measure the depth of the nest box and add one inch. (18" + 1" = 19") This is the depth of the second panel you need. (I need a panel that is cut 19" x19") This will be used as the bottom of the nest box holder.
- Step Three - Attach the second panel to the first panel using J-Clips. This is the portion of the nest box holder that attaches to upper corner inside your cage directly above the feeder station.
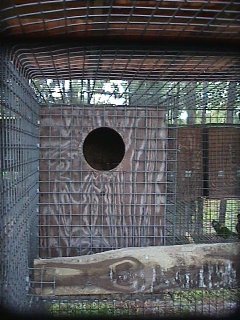
- Step Four - Before you close up the cage....cut the outside portion of the cage away from the nest box holder to allow you to slide the nest box in and out. With the nest box in place, cut the wire on the inside of the nest box holder away from the entry hole in the box.
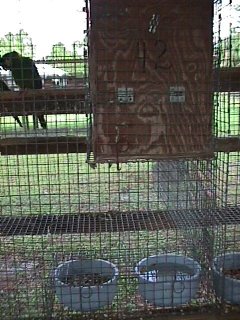
- Step Five - Attach a door to the outside of the cage and use spring clips secure the nest box in place.
Note: With the larger birds more secure measures are required